There are no reviews for this product yet.
Getting Started
Installation / Upgrading
Installing The Google Wallet Payment Gateway is simple. The following steps will guide you through the process:
- Unzip the contents of the zip file to a folder on your computer
- Upload the contents into the WHMCS directory
- Continue with Initial Setup
Initial Setup
Once all the files have been uploaded on the server follow the following instructions to get the gateway activated for use.
- From within the WHMCS admin panel click Setup > Payments > Payment Gateways
- Select Google Wallet from the Activate Module dropdown and click Activate
- Register for a Google Wallet Merchant account, click here to register
- Login to your Google Wallet account, and navigate to Merchant Settings
- Under Business Information, retrieve your Google Wallet Merchant ID
- Under In App Setting, retrieve your Merchant Secret
- With the information retrieved, enter into the relative fields within the Payment Gateways fields.
Callback URL
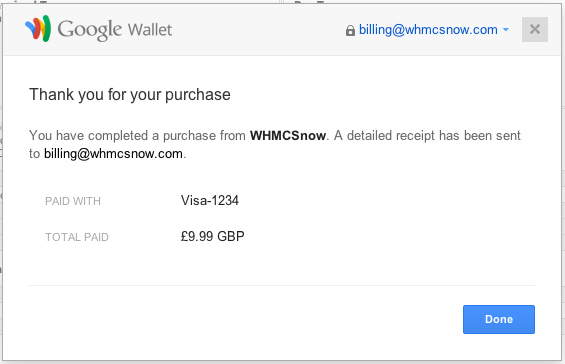
Callbacks are required to notify your WHMCS when a transaction payment has been received.
- Login to your Google Wallet account, and navigate to Merchant Settings
- Under In App Setting, Edit the Postback URL setting, enter a URL in the following format
http://yourwhmcs.url/modules/gateways/callback/googlewallet.php
- Then Save the Postback URL
Available Payment Gateways
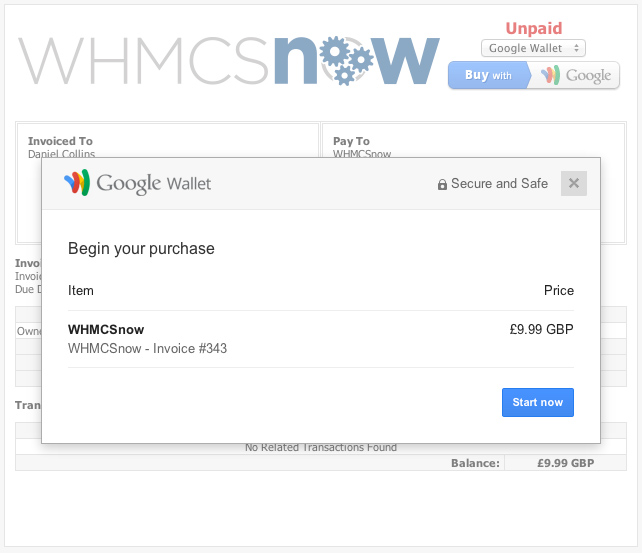
Now the Google Wallet Payment Gateway has correctly been configured you need to assign the payment gateway to product groups.
- From within the WHMCS admin panel click Setup > Products/Services > Products/Services
- Click on the edit icon located on the product group you wish to allow to use the payment gateway
- Tick the Google Wallet checkbox located under Available Payment Gateways
- Click on Save Changes